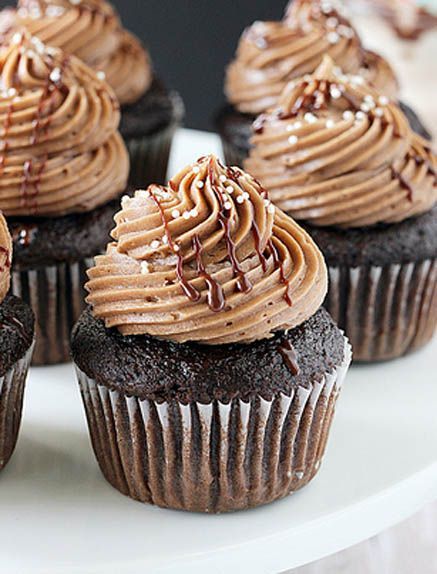
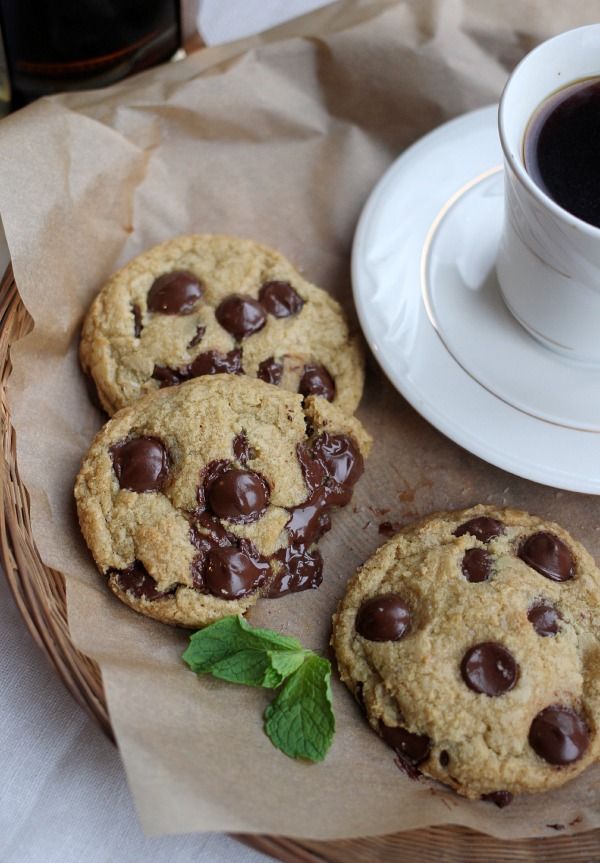
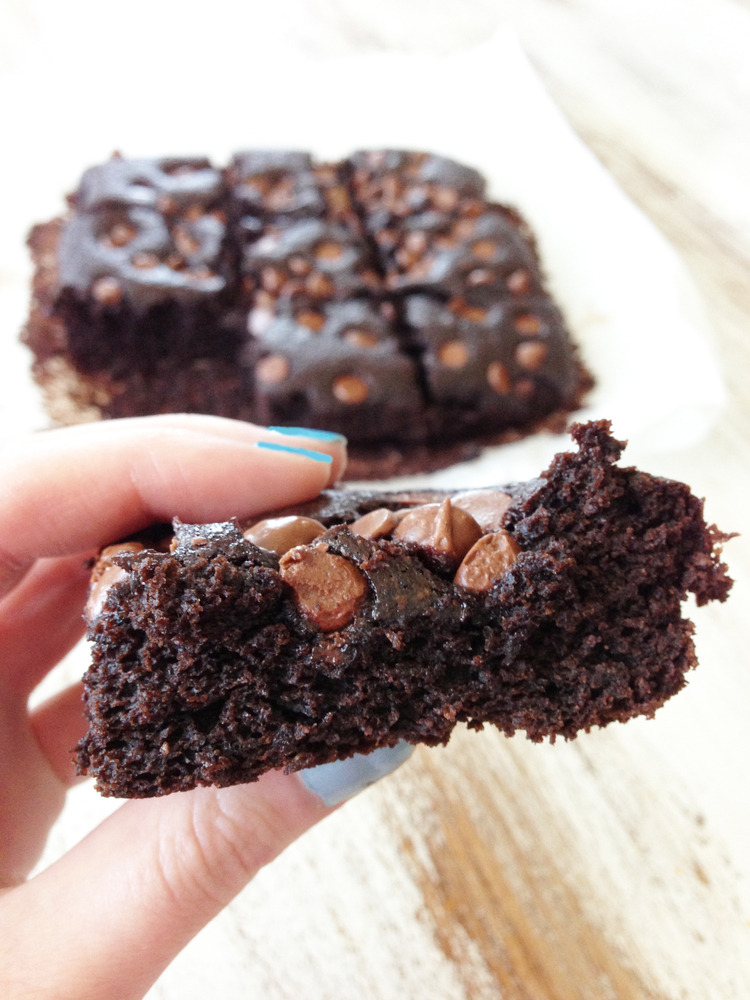
Tag: chocolate
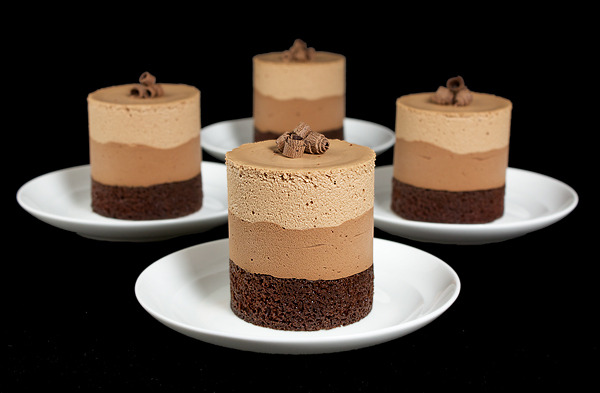
Mini Triple Chocolate Mousse Cakes!
Someone just asked me for this recipe. This one is better than the one I sent you, so I’m going to post it for everyone 🙂
This is a layered cake ( as you can see it has 3 sections)
Dark Chocolate Cake
- Unsalted butter, softened, to grease
- Unsweetened cocoa powder, for dusting
- 83 g (2/3 cup) plain (all-purpose) flour
- 39 g (1/3 cup) unsweetened Dutch-process cocoa powder
- ½ teaspoon baking soda
- ¾ teaspoon baking powder
- ¼ teaspoon salt
- 150 g (2/3 cup) caster (superfine granules) sugar
- 1 large egg, room temperature
- 59 ml (¼ cup/4 tablespoons) whole milk
- 3 tablespoons vegetable oil
- ½ teaspoon pure vanilla extract
- 59 ml (¼ cup/4 tablespoons) water
Directions:
- Preheat oven to 180° C (350°). Line a baking sheet with non-stick baking paper. Place the ramekins on the lined baking sheet. Using a small pastry brush, coat the bottom and sides of each ramekin with unsalted butter; dust liberally with unsweetened cocoa powder, set-aside.
- Using a fine mesh sieve, sift the flour, Dutch-process cocoa powder, baking soda, baking powder and salt into the bowl of electric stand mixer. Add the sugar; using a whisk, whisk together to well combine.
- Attach the bowl to the mixer fitted with the paddle attachment. Add the egg, milk, oil, vanilla, and water; mix on medium-low speed until combined, about 3 minutes.
- Divide batter evenly among prepared ramekins. Return ramekins to lined baking sheet, spacing one-inch apart.
- Bake until a cake tester inserted in the centre of the cakes comes out clean, about 20 minutes.
- Transfer to a wire rack; let cool completely. Unmold cakes.
- Using a serrated knife, carefully trim each cake to 2.5-cm (1-inch) high. Transfer to paper lined baking sheet, cut side down.
- Cut eight 25.4-by-10.16-cm (10¾-inch-by-4-inch) strips of non-stick baking paper. Wrap a paper collar around the base of each cake, keeping the bottom flush with baking sheet. Secure each collar with tape, set-aside.
Help Section:
**Special Equipment – 8 9-cm (3½-inch/6-ounce) ramekins
Need more help? Contact me @thecakebar I love to help

Chocolate Tempering {click link for FULL tutorial}
- If you simply melt chocolate and let it cool it will set with unattractive grey streaks or spots, called blooming. If eaten, the texture will be grainy and it won’t melt smoothly in the mouth.
- When you temper chocolate the end result is shiny, even colored, smooth melting and with a crisp snap. Basically, tempered chocolate is what you want because it’s better in every way.
Home made Sipping Chocolate
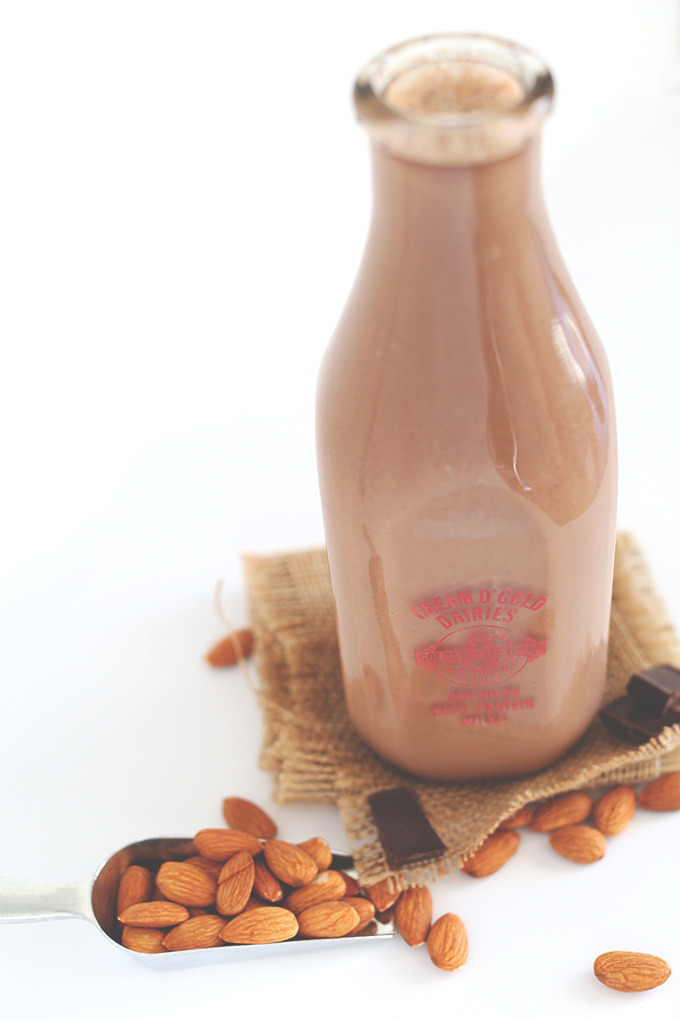
So, standard hot chocolate just doesn’t do much for me, anymore – I can kind of get by if it’s dark hot chocolate, but even that is just a stand in for what I really want: sipping chocolate. Rich, thick, and delicious, it’s a wonderful dessert drink, particularly if you don’t have a taste for coffee (what can I say, I’ve never liked it.) Anyway, I’ve had one heck of a craving for sipping chocolate and got tired of searching for a good mix, decided to play around in the kitchen until I got the result I was looking for. Since it was both simple and delicious, I figured I’d share.
Easy Sipping Chocolate:
1 Part quality dark chocolate, chopped (60-65% cocoa works best, to my taste)
1 Part cream
2 Parts Milk (whole or 2%)
2oz dark chocolate, 2oz cream and 4oz milk is a good single serving size, but play with it until you get it where you want it.
Put the cream over low heat until bubbles form around the rim of the pot, then take off the heat and stir – whisking works best – in your chopped chocolate. You now have a ganache base. At this point you have two choices; you can pour off any amount you’d like to reserve for later and refrigerate it, or you can make the whole batch at once.
If making the whole batch: Once incorporated, just pour your milk right in and return to a low heat. Whisk to combine and let the mixture come back up to a drinkable temperature, then dole out into cups.
If making enough for later: Once incorporated, pour off however much of the ganache you’d like to reserve for later and refrigerate once cooled. Effectively, your recipe is now: 1 part prepared ganache, 1 part milk. Pour an equal amount of milk into the remainder (I usually just eyeball it) and whisk to incorporate over a low heat, again. Dole out as above once at a drinkable temperature.
When using the reserved (refrigerated) ganache, just scald the appropriate amount of milk, and whisk your saved ganache right in: tasty drinks for everyone! Or, you know, just you.
You can, of course, dilute the ganache down with as much milk as you like, the point is to make it taste good for you, but personally, I’m of the opinion it’s not a good drinking chocolate unless it’s rich and at least moderately thick. Remember, what you put in is what you get – like cooking with wine, don’t use a chocolate you wouldn’t eat on it’s own.
Now, go forth and make yourself some sipping chocolate! Then try not to go into a chocolate coma. Tis the season. 😉
